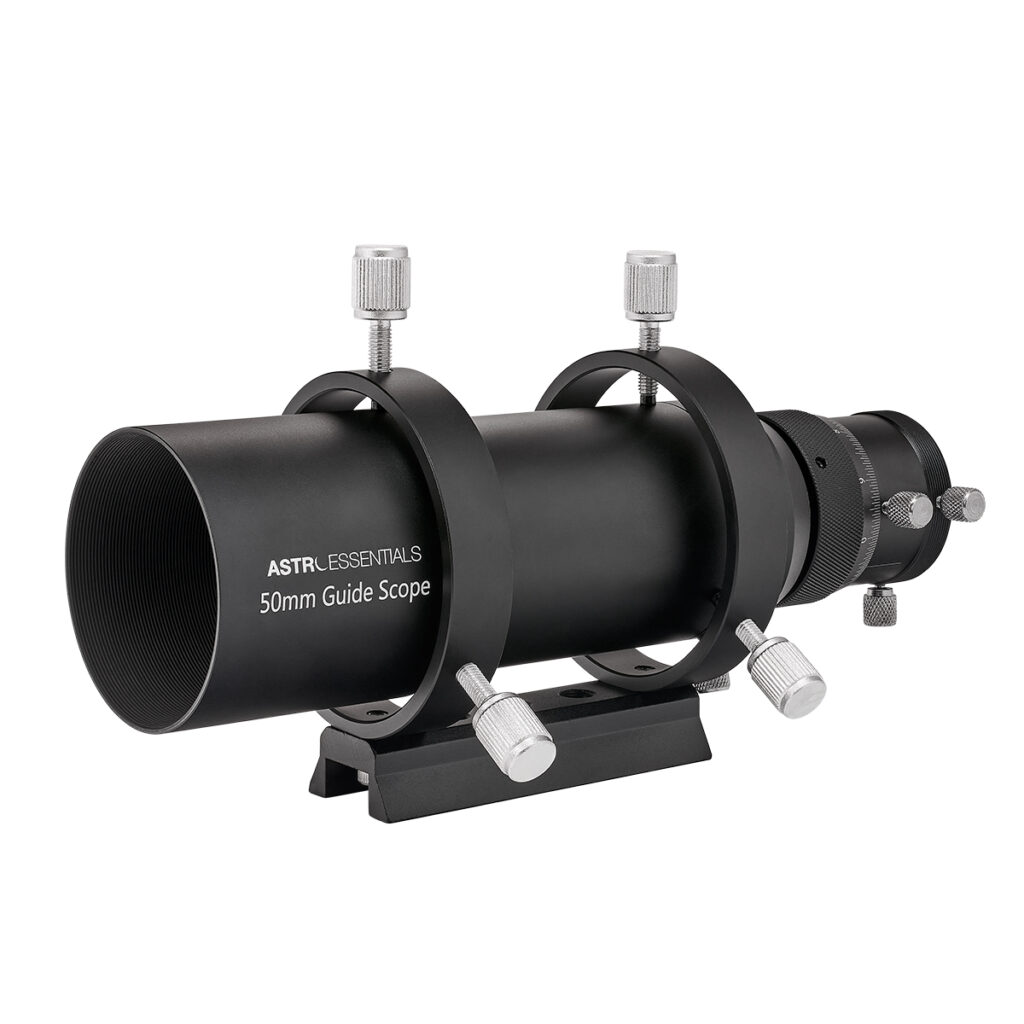
Theoretically, an equatorial mount should be able to track accuately and keep a target centered. In practise only the most exensive mounts can do this. Guiding uses an extra camera attached to a small scope to track a guide star and automatically command the mount to make small corrections.
The most common way to do this is to use a small telescope (guidescope) and camera bolted to the telescope and use PHD2 software to track a star. The narrower the field of view the more critical guiding becomes. At very narrow FOVs, typically with telescopoes with a focal lerngth of around 1500mm and over, it is best to guide using an Off Axis Guider (OAG) which uses a prism to track a star througfh the main scope. (see below)
PHD2 best practices for guiding
Guidescope Sizing

It is important that the guidescope and camera are correctly matched to the main scope and camera. The guidescope must be sufficently sensitive that it can correct errors that will affect the main imaging scope. The main consideration is the comparison of the pixel scale of your imaging rig compared to your guiding rig.
Pixel Scale
The pixel scale is calculated using the expression 206 * (pixel size) / (focal length). The calculator below will compute the pixel scale for guider and main set-up and compare them.
If the main scope has a focal length of 700 mm and its caeera has a pixel scale of 4.63 µm the pixel scale is 1.4 arcsecond/pixel.
If your guide scope has a focal length of 200 mm and its camera has a pixel size of 3.8u, this would result in a pixel scale of 3.9 arcseconds/pixel,
The ratio between then is 2.8
With the assistance of sophisticated guide algorithms available in software like PHD2, a star’s centroid can be determined to a fraction of a pixel. Most individuals recommend that the guide pixel scale should not exceed 4 or 5 times that of your imaging scope but this may be unduly conservative.
Flexture
Is the differential movement of the guidescope and main scope which can be a source of error if the guidescope is not firmly asttached directly to the main scope
“The flexure problem becomes more acute at long focal lengths and this is when an OAG comes into its own. Since they share the same optical path as the imaging camera, they see the same angular flexures and record them accurately for correction. OAGs do not have it all their own way, and have to cope operating at the periphery of the imaging circle via a small pick-up mirror and in some cases behind the imaging filters, further attenuating the light level of distorted” (from “The Astrophotography Manual: A Practical and Scientific Approach to Deep Sky Imaging” by Chris Woodhouse)
Off Axis Guider (OAG)

The main advantage having an OAG is that it used the same optical path with your main imaging camera. This avoids any issue with differential flexure that can occur when using a separate guidescope on top of your main telescope.
The prisim picks off stars from the edge of the field of view not covered by the main camera sensor. You need to ensure that the image circle of the scope is larger than the sensor by a sufficient amount. With an OAG stars can be difficult to locate making OAGs tricky yo use. They often need to be used with a highly sensitive large pixel camera like a Lodestar. Because the focal length is that of the main scope this is not a problem.